Nail stickers have quietly taken over the beauty world. Once a niche accessory for hobbyists, they’ve transformed into a mainstream phenomenon that’s reshaping how people approach nail art. Whether you’re a complete beginner or a seasoned nail enthusiast, nail stickers offer a fast, affordable, and creative way to achieve salon‑worthy looks at home.
Why Nail Stickers Are Taking Over
The rise of nail stickers isn’t accidental — it reflects how modern beauty fits into busy lives.
Convenience is king. Nail stickers align perfectly with today’s fast‑paced lifestyle. People want salon‑like results without the time or expense of frequent appointments. The post‑pandemic DIY culture strengthened the habit of self‑sufficiency and experimentation, making nail stickers a natural go‑to for quick style changes.
Social media fuels the trend. With nail art trends moving at lightning speed on Instagram and TikTok, stickers allow users to keep up instantly. Unlike intricate hand‑painted designs that require skill and practice, stickers give anyone the ability to participate in the latest viral looks without weeks of practice.
Health consciousness plays a role. Growing awareness of nail damage caused by gels and acrylics has led consumers to actively seek gentler, damage‑free alternatives. Nail stickers peel off without harming the natural nail bed, making them a safer option for regular wear.
Affordable self‑expression. Beyond practicality, stickers have become an affordable way to express personal style. With designs ranging from minimalist to bold, they offer endless possibilities at a fraction of salon costs.
Types of Nail Stickers and Their Unique Characteristics
Understanding the different types helps you choose the right sticker for your desired look and longevity.
Basic adhesive nail stickers are the simplest form, often used for adding small designs or accents to nails. Made from thin vinyl or plastic with adhesive backing, they’re ready to peel and stick directly onto the nail. These come in countless patterns — from floral to geometric to novelty — and are best for accent nails or short‑term wear.
Water transfer stickers (water decals) require soaking in water before application. The sticker loosens from its backing, allowing you to slide it onto the nail. This type is best for intricate patterns and detailed designs, as they conform smoothly to the nail curve without added bulk.
3D nail stickers have raised, embossed surfaces that add texture and dimension. They mimic charms or embellishments, creating a sculpted, luxurious look. 3D stickers are best for special occasions and statement nails, though they can be more prone to lifting due to their textured surface.
Gel nail stickers (semi‑cured gel strips) are pre‑shaped, flexible strips made from real gel polish that hasn’t been fully cured. You apply them like a sticker, then cure under a UV/LED lamp for 60–120 seconds to harden them. The result is a glossy, durable finish that lasts 7–14 days and rivals professional gel manicures. Semi‑cured gel stickers have revolutionized the category, offering the look and longevity of salon gel with at‑home convenience.
Vinyl nail stickers are peel‑and‑stick decals made of flexible material. Best for bold shapes like stripes, stars, or abstract art, they’re beginner‑friendly and easy to remove.
Foil and metallic stickers are pressed onto the nail for a shiny, holographic, or iridescent effect. These are perfect for trendy, futuristic styles and special events where you want extra sparkle.
Glow‑in‑the‑dark stickers absorb light and emit a glow in darkness. Charge them under light before wearing, and they’re great for parties, festivals, or nighttime events.
How to Apply Nail Stickers Like a Pro
Proper application makes the difference between a sticker that lasts days and one that peels off within hours.
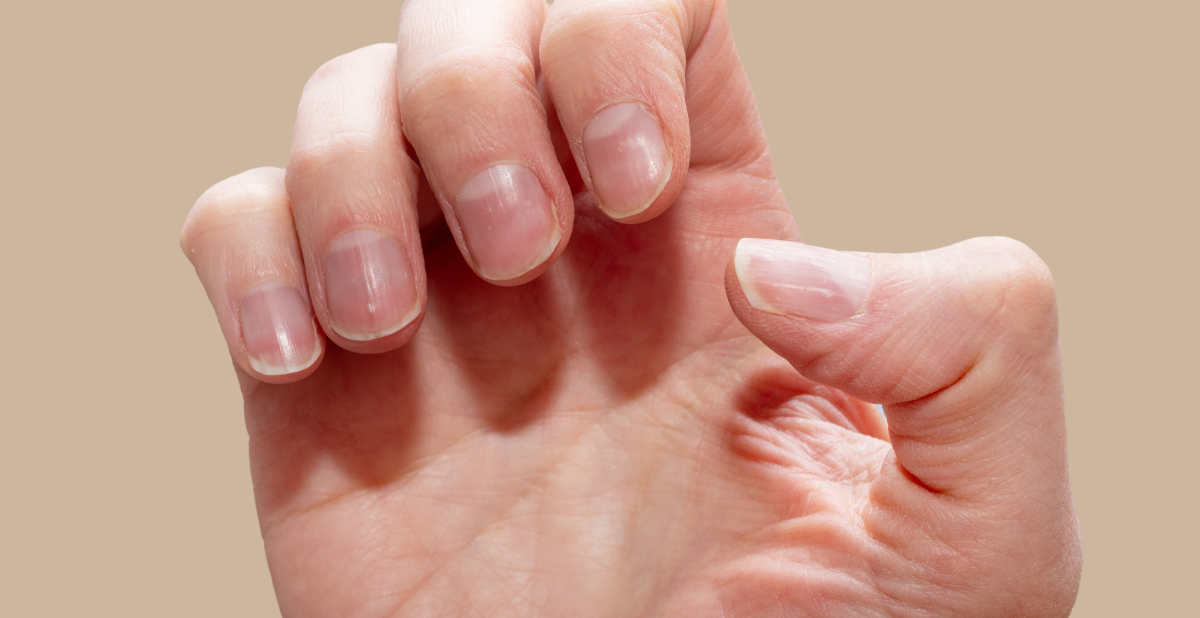
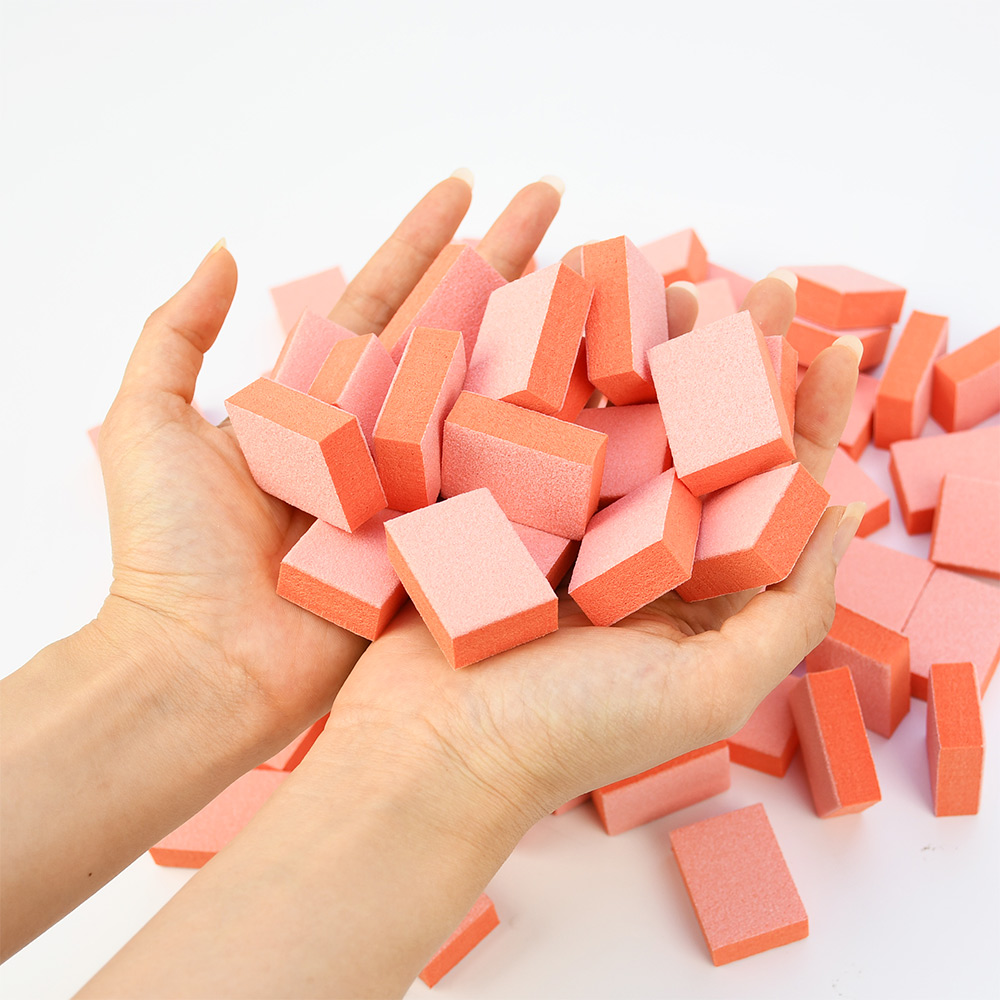
Step 1: Prepare your nails thoroughly. This is the most important step — and the most commonly skipped one. Start by washing your hands with warm water and soap to remove oils and dirt. Gently push back your cuticles with a wooden stick or cuticle pusher so the sticker can sit flush near the nail bed. Lightly buff the nail surface with a fine‑grit buffing block — just enough to remove shine, not to roughen it — so the sticker has a slightly textured surface to grip. For extra adhesion, wipe nails with rubbing alcohol on a cotton pad to clear any leftover residue. Do not apply lotions or oils before starting — even trace amounts cause stickers to slip or bubble.
Step 2: Apply a base coat (optional but recommended). While not required, a thin layer of base coat creates a smooth, protective surface and helps stickers adhere. Make sure it’s completely dry before moving on.
Step 3: Select the right size. Each nail sticker comes in varying sizes. Hold the sticker sheet above your nail to find the best fit. Choose a sticker slightly narrower than your nail width for the best hold — a sticker that’s wider than your nail edge will cause annoying lifts.
Step 4: Peel carefully. Use tweezers or clean fingertips to lift the sticker from the backing without stretching, curling, or bending it. Stretching ruins the shape and can distort the design.
Step 5: Place precisely. Align the rounded edge of the sticker with your cuticle line (without touching the skin). Press down at the center first, then smooth outward toward the edges. If you need to reposition, lift and adjust quickly before full adhesion occurs.
Step 6: Smooth away bubbles and wrinkles. Use a cuticle stick, orangewood stick, or your fingertip to press and glide over the sticker, pushing air bubbles from the center outwards. Pay special attention to edges and sides for a perfect fit.

Step 7: Trim excess. If the sticker overhangs your nail tip, use small scissors to trim, or file downward with a nail file (never back and forth) to create a natural finish. For gel stickers, cure under your LED lamp for the recommended time before filing.
Step 8: Seal with top coat. This is the secret to longevity. Apply one or two thin layers of clear top coat over the entire sticker, being sure to cap the free edge — swipe the brush along the nail tip. Proper sealing can double the wear time of nail stickers. For gel stickers, apply a gel top coat and cure for a final, professional finish.
Common Application Mistakes to Avoid
Skipping nail preparation. Any oil or moisture on the nail surface prevents proper adhesion. Cleaning and buffing aren’t optional — they’re essential.
Rushing the process. Nail stickers need time and patience. Placing them too quickly often leads to creases and bubbles. Take your time with each nail.
Using mismatched sizes. A sticker too small leaves exposed edges; a sticker too large will overhang and lift. Match carefully before peeling.
Forgetting to seal. Skipping the top coat is the fastest way to shorten wear time. That final layer locks the sticker in place and adds shine.
Wetting nails too soon after application. Water and steam loosen adhesives. Avoid soaking hands for several hours after applying stickers.
Current Nail Sticker Trends
Cloud and sky nails are everywhere in 2025 — delicate wisps of white, soft baby blue gradients, and tiny golden suns. It’s like wearing a spring morning on your fingertips.
Abstract art strips featuring blurred pastels, asymmetrical lines, and splatter‑effect stickers bring modern art gallery energy to nails at an affordable price.
Bow nail stickers in 3D relief styles have gained trendy attention for adding playful, dimensional charm. They deliver a cute, youthful pop that’s super beginner‑friendly.
Metallic minimalism with thin gold or silver foil lines, crescent moons, or micro‑geometric shapes follows the “less is more” aesthetic. These go with everything and look effortlessly chic.
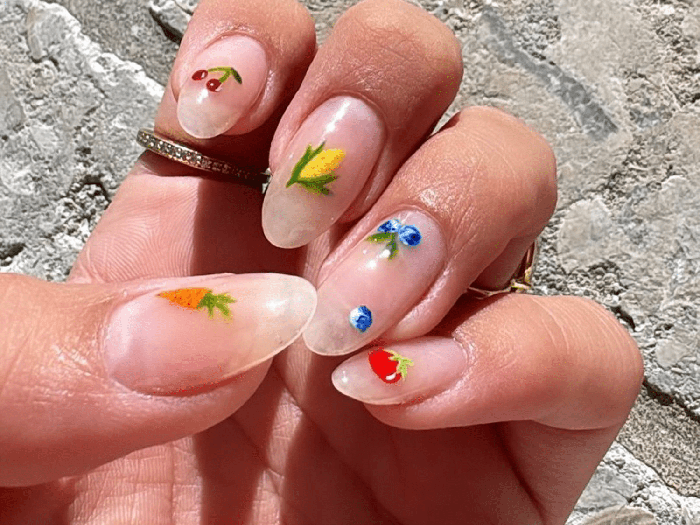
Whimsical fruits (cherries, lemons, watermelons) remain popular for summer, especially as a DIY trend. Start with two coats of color, apply fruit stickers, and seal with top coat.
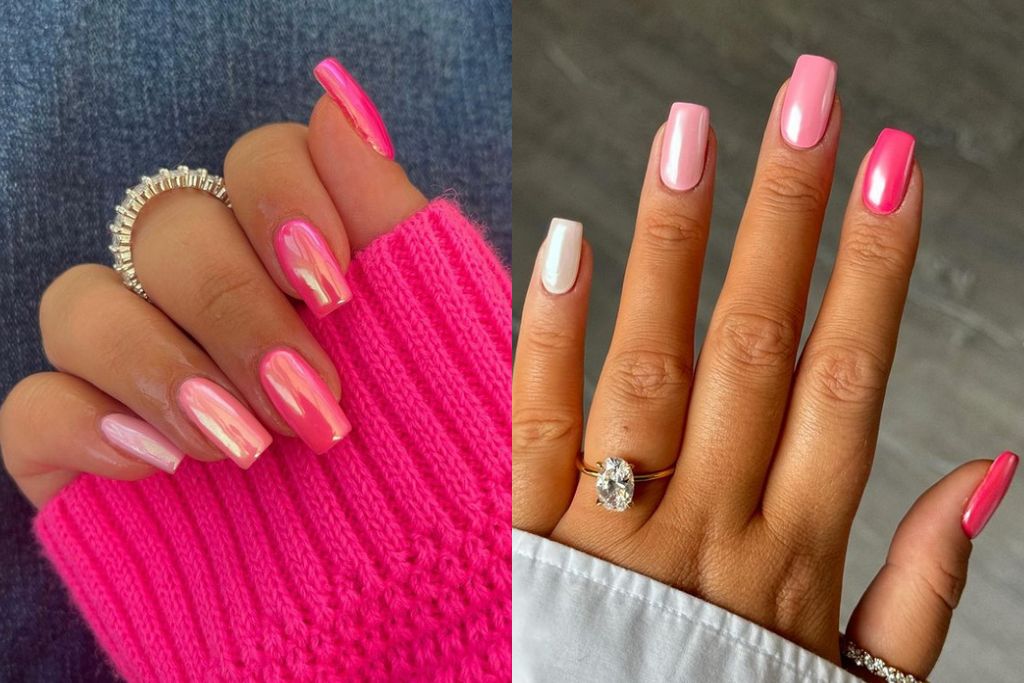
Pearlescent and iridescent finishes continue to trend as the new take on the glazed donut mani. Subtle holographic and iridescent stickers catch light beautifully and work for both casual and formal looks.
K‑beauty inspired designs featuring tiny 3D florals, translucent petals over sheer pink bases, and Y2K revival elements (holographic strips, iridescent flakes, butterfly accents) are dominating social media with their sweet, romantic aesthetic.
Nail stickers have evolved from quick fixes into a legitimate beauty category that empowers anyone to create professional‑looking nail art at home. With the right application technique and a quality top coat, you can enjoy salon‑worthy nails that last — without the salon wait or the price tag.
Read also: The Complete Guide to Natural Pink Nails: Effortless Beauty for Every Hand