Tired of meticulously painting your nails only to see chips appear within a day or two? Enter semi-permanent nail polish (often called long-lasting, gel hybrid, or soak-off gel polish) – the superhero of the nail world for those craving durable, glossy colour without salon acrylics or dips. Let’s dive into what it is, where it shines, its trade-offs, and how to keep it looking fabulous.
Where Semi-Permanent Polish Truly Shines:
1. The Busy Bee Life: If your schedule is packed with work, errands, kids, or hobbies, constantly fixing chipped polish is the last thing you need. Semi-permanent polish offers weeks of pristine wear, freeing up your time and mental energy.
2. Vacation Ready: Picture this: swimming, sunscreen, sand, and luggage handling… regular polish wouldn’t stand a chance. Semi-permanent polish is your perfect travel companion, resisting chips and fading so your manicure looks fresh from departure to homecoming.
3. Special Occasion Saviour: For weddings, holidays, important meetings, or any event where you want flawless nails without last-minute panic, semi-permanent provides guaranteed, camera-ready perfection that lasts through the festivities.
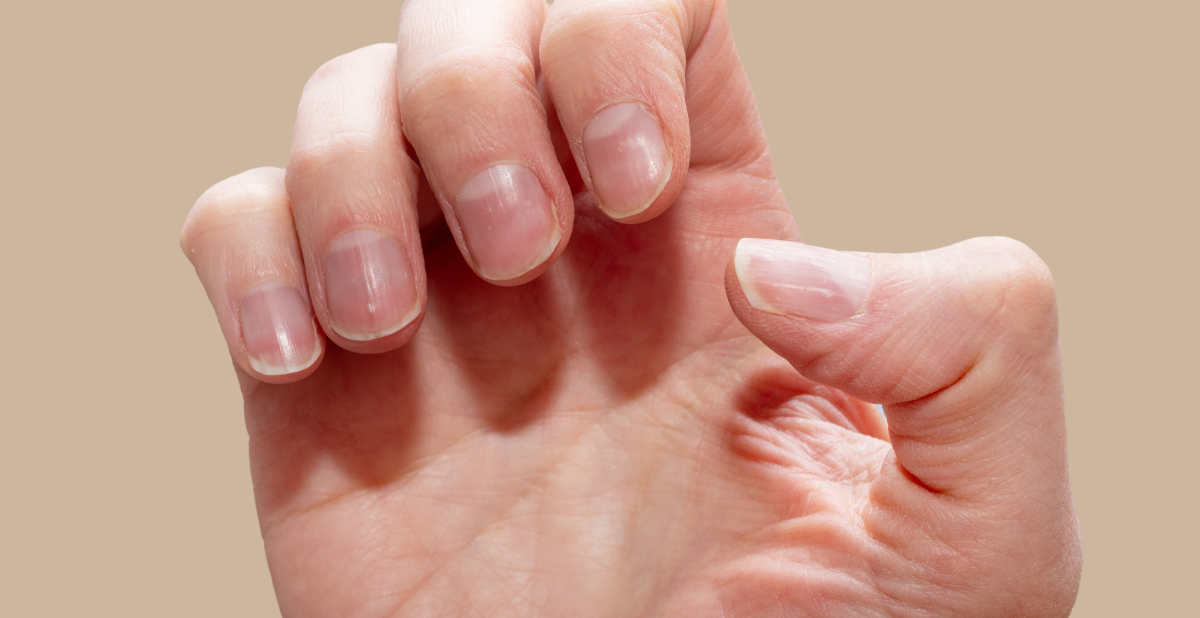
4. Weak or Peeling Nails: If your natural nails are prone to breaking or peeling, the added layer of cured semi-permanent polish can act like a protective shield, helping your nails grow longer underneath.
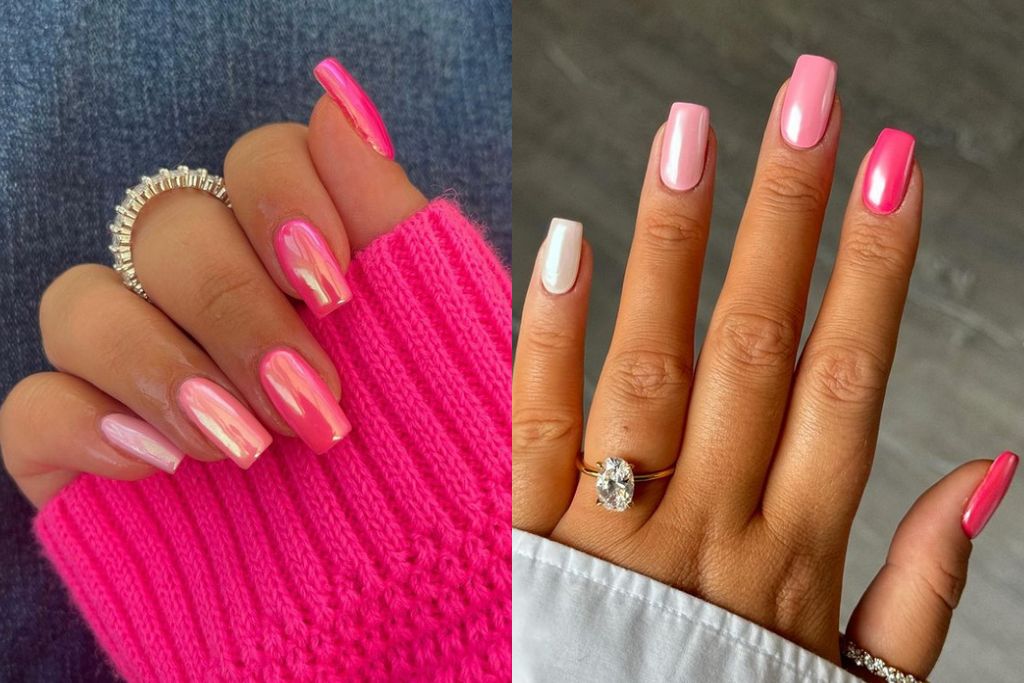
5. The Gloss Lover: Nothing beats the intense, mirror-like shine of cured semi-permanent polish. It looks professionally done and maintains that high-gloss finish until removal.
The Good, The Bad, and The Glossy: Pros & Cons
The Pros (Why You’ll Love It):
- Long-Lasting Wear: This is the star attraction! Expect 10-14 days (often longer) of chip-free, vibrant colour and high shine. Goodbye, daily touch-ups!
- Superior Shine & Finish: Provides a deep, glass-like, professional-looking shine that regular polish struggles to match and maintain.
- Quick Dry Time: Curing under an LED or UV lamp takes only 30-60 seconds per layer. No more smudging minutes or hours after painting!
- Durability: Resists water, household cleaners (though gloves are still recommended!), and everyday knocks far better than traditional polish.
- Strengthens: The hard layer can help protect weak nails from breaking while they grow.
The Cons (Things to Consider):
- Removal Hassle: This is the biggest drawback. It must be soaked off with pure acetone (usually wrapped in foil or using clips) for 10-15 minutes. Picking or peeling it off can severely damage your natural nails.
- Initial Cost & Setup: You need the specific polish, a base coat, a top coat, and an LED/UV lamp. While home kits are available, the startup cost is higher than regular polish.
- Potential Nail Damage: Improper removal (peeling!) is the main culprit for damage. Over-filing before application or excessively rough removal techniques can also thin and weaken nails over time. Hydration is key afterwards.
- UV Exposure: Some lamps use UV light. While the risk is considered low for occasional use, applying sunscreen to your hands or using LED lamps (which emit less/no UV) is a precaution some choose.
- Less Flexibility: The cured finish is very hard. While this prevents chips, some find it feels less “natural” than regular polish, and extreme force can sometimes cause it to lift or pop off entirely.
- Salon Cost: Getting it done professionally is more expensive than a regular manicure.
Keeping the Dream Alive: Maintenance Tips
Maximize the life and health of your semi-permanent manicure with these simple steps:
1. Hydrate, Hydrate, Hydrate: Apply cuticle oil daily. This nourishes the skin around the nail and helps prevent the polish from lifting at the edges. Rub it into your nails too, as acetone removal is very drying.
2. Gloves Are Your Friend: Wear gloves for washing dishes, cleaning with harsh chemicals, or any prolonged water exposure. This protects the polish and your skin.
3. Mind Your Nails: Avoid using your nails as tools (prying open cans, scratching off stickers). The polish is tough, but excessive force can cause breaks or lifting.
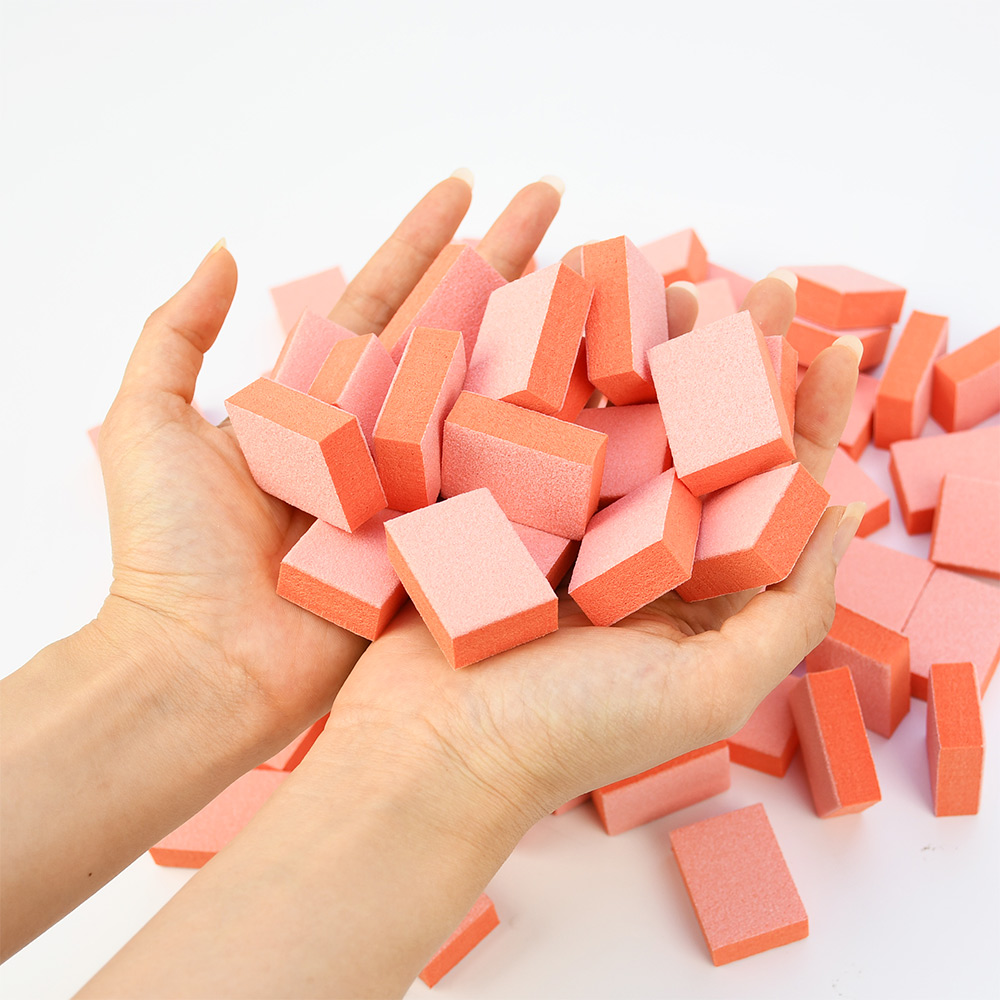
4. Buff the Shine: If the top coat gets a little scratched or dull after a week or so, you can very gently buff it with a nail buffer block to restore shine. Don’t buff the colour layer!
5. Don’t Pick!: If you see a tiny chip or lift, resist the urge to pick or peel. This is the fastest way to ruin your natural nail. Apply a tiny dab of top coat if needed to seal a small chip, or get it professionally fixed/removed.
6. Timely Removal: Don’t wait until it’s grown out massively or half-peeled off. Schedule removal (or DIY removal) around the 2-3 week mark to prevent accidental damage or breakage.
7. Nail Breaks: If you break a nail, file it down carefully to match the others. You can often apply a thin layer of top coat over the filed edge to seal it temporarily.
In a Nutshell:
Semi-permanent nail polish is a fantastic solution for busy lives, vacations, special events, and anyone who loves long-lasting, high-gloss nails. It saves time and frustration by resisting chips for weeks. However, it requires an investment in manicure supplies (or salon visits), demands careful acetone-based removal to avoid nail damage, and needs regular hydration. If you prioritize durability and shine and are willing to follow the removal process, it can be a game-changer. Just remember: love your nails, oil them daily, and never, ever pick!
Read also: Stick, Wear, Slay: Your Quick Guide to Press-On Nails