Tired of chipped polish or the time and expense of salon visits? Craving fabulous nails without the fuss? Enter the world of press-on nails! These pre-designed, artificial nails are the ultimate shortcut to stunning manicures at home. Let’s break down what they are, how to use them, their pros and cons, and how to make them last.
What Exactly Are Press-On Nails?
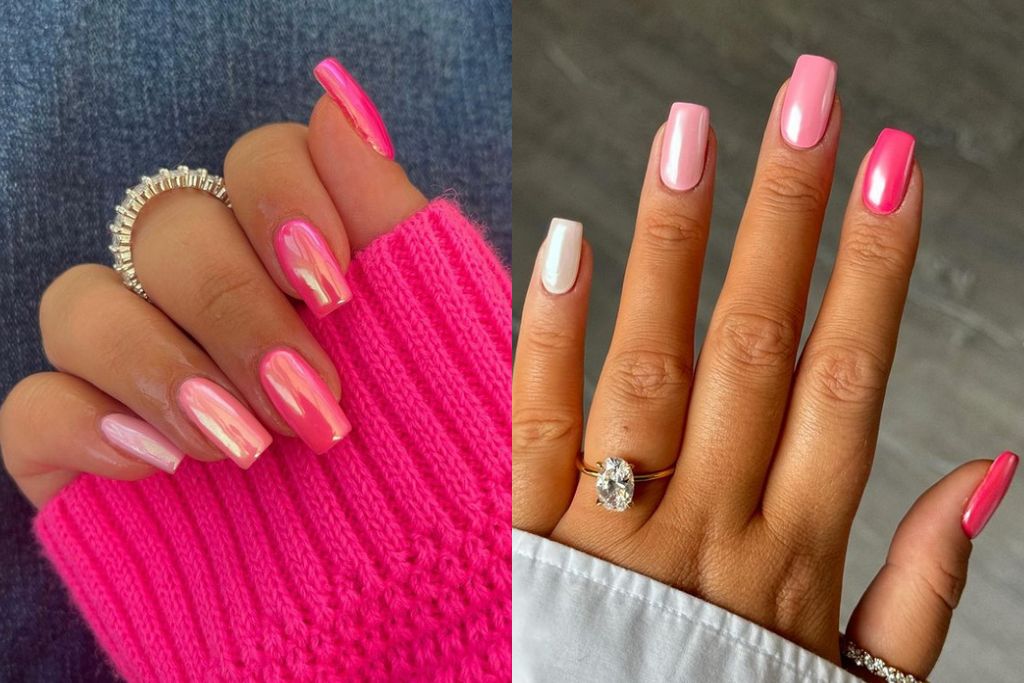
Imagine a set of beautiful, ready-to-wear nails, each shaped and painted (or adorned with designs, glitter, gems – you name it!). That’s a press-on nail kit! Typically made from flexible plastic or gel-like materials, they come in various sizes to fit most natural nails. On the back, they feature a sticky adhesive – either a pre-applied glue or a double-sided adhesive tab – ready to be pressed directly onto your cleaned natural nail.
The Simple Stick-On Steps:
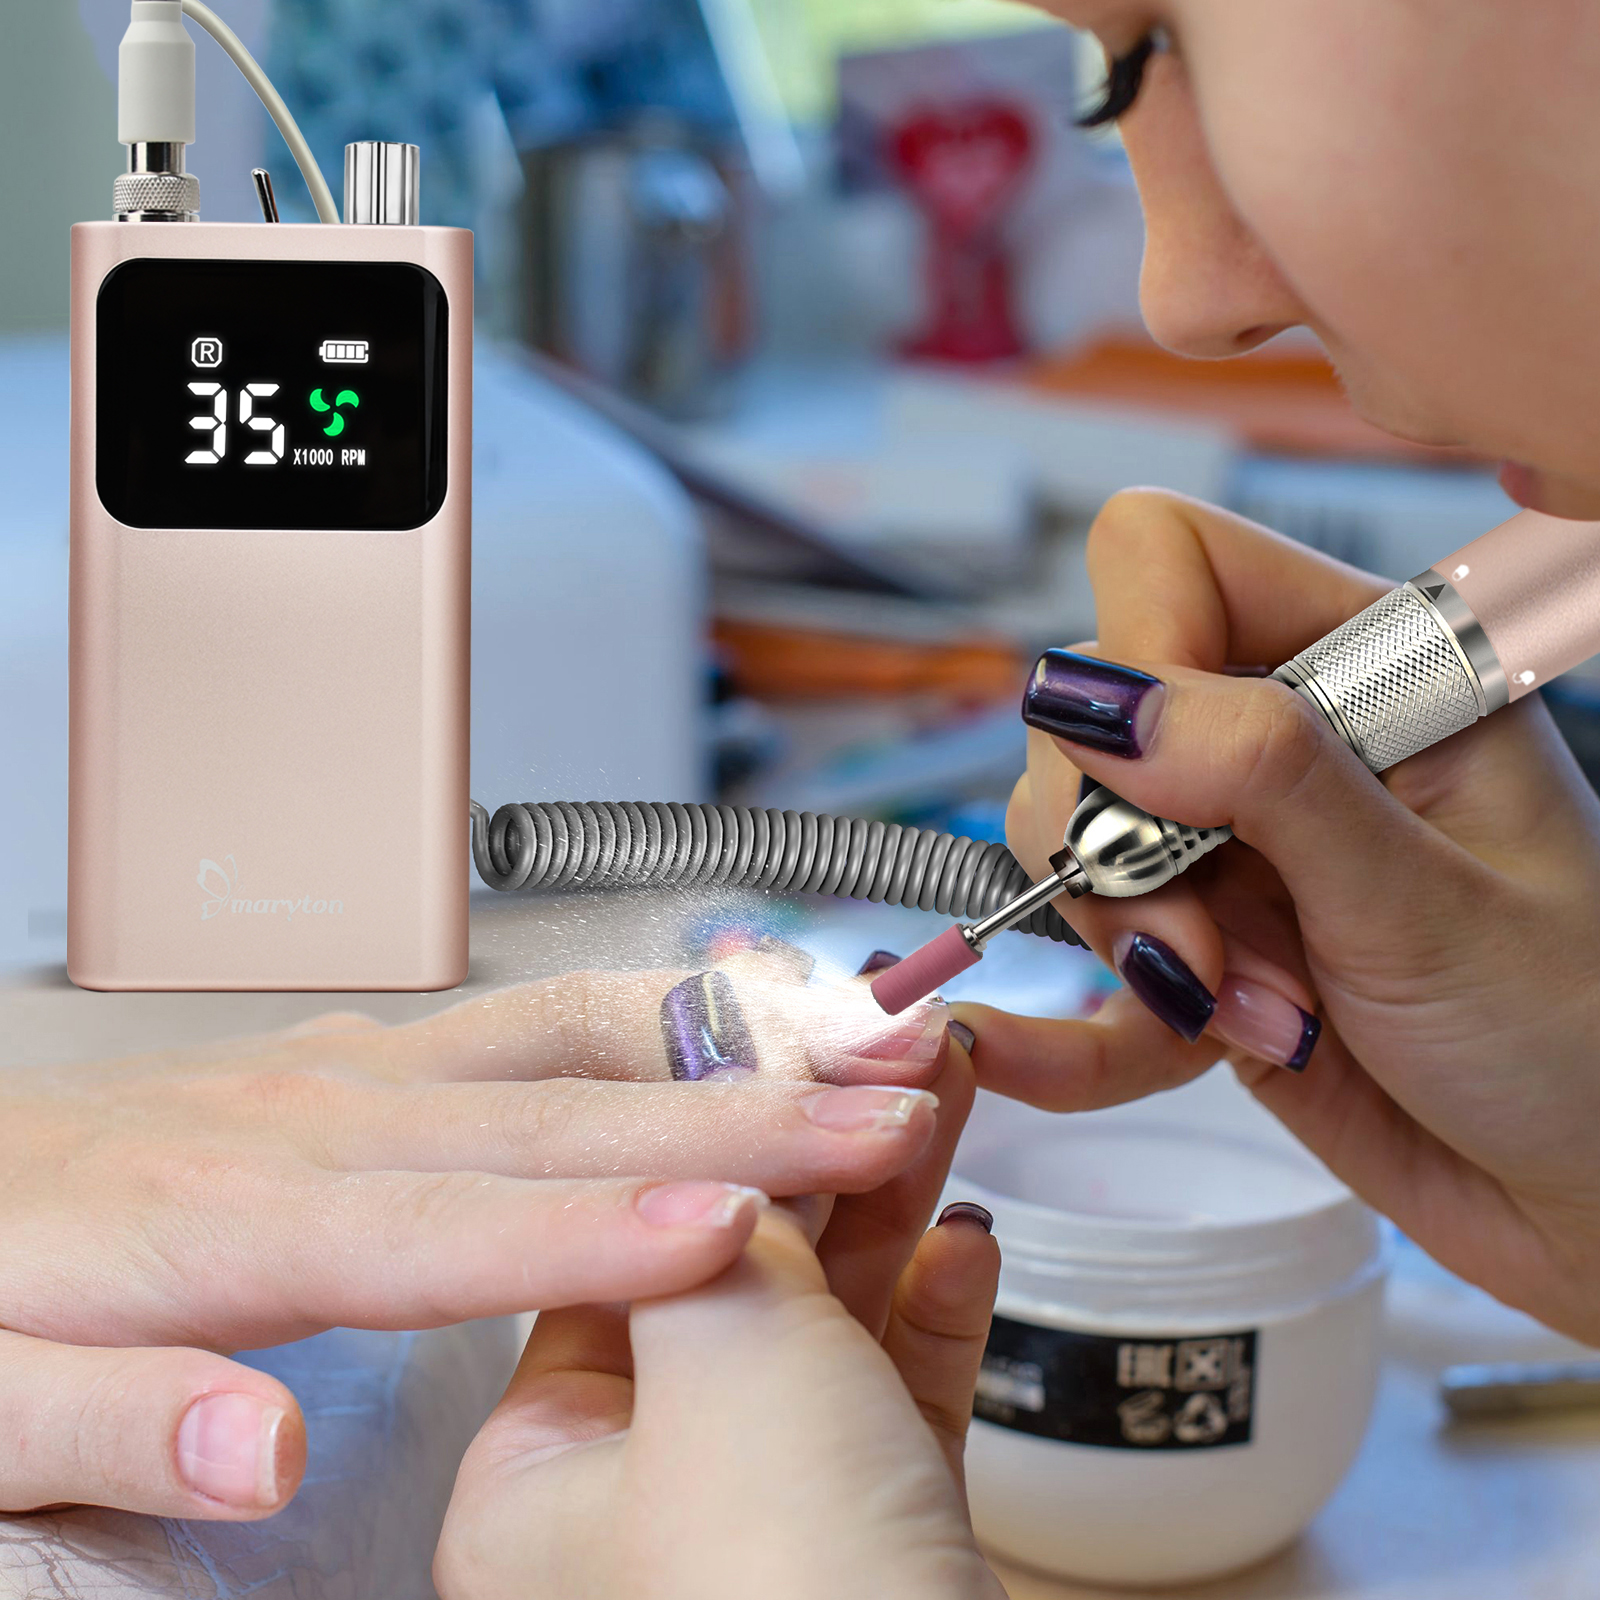
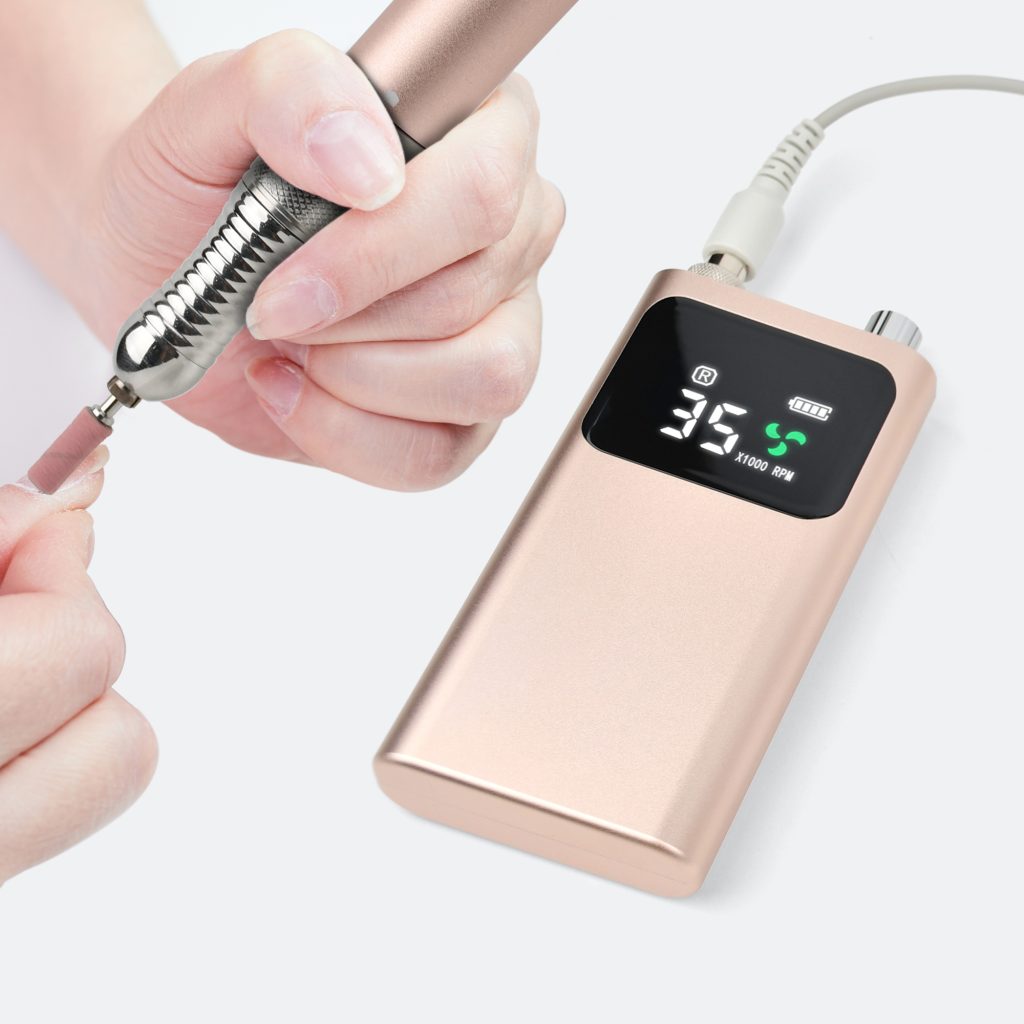
1. Prep is Paramount: Start with clean, dry nails. Gently push back your cuticles. Lightly buff the surface of your natural nails with an electric nail file or buffer to remove shine and create texture for better adhesion. Wipe away any dust with alcohol prep pads or nail polish remover. Avoid moisture and oils!
2. Size Them Up: Lay out the press-ons next to your nails. Find the best fit for each finger – they should cover your natural nail from sidewall to sidewall without overlapping the skin. It’s okay if it’s not perfectly exact, but a close fit is best. File the sides gently if needed.
3. Choose Your Adhesive:
- Pre-Glued: Simply peel off the protective plastic covering the sticky back.
- Glue Tube: Apply a small drop of the included nail glue onto your natural nail. Spread it thinly but evenly.
- Adhesive Tabs: Peel the tab off its backing, stick it firmly onto your natural nail, then peel off the top layer of the tab.
4. Press & Hold: Align the press-on nail at the base of your cuticle. Press down firmly, starting at the base and moving towards the tip. Apply strong pressure, especially at the cuticle area, for 10-30 seconds. Hold it down! This ensures a strong bond.
5. Shape & Shine (Optional): Once all nails are applied, you can gently file the tips to your desired length and shape. Apply cuticle oil around the nails for a polished look.
Why Go Press-On? The Perks:
- Instant Gratification: Get salon-worthy nails in under 15 minutes. No drying time!
- Budget Friendly: Significantly cheaper than salon gel or acrylic manicures.
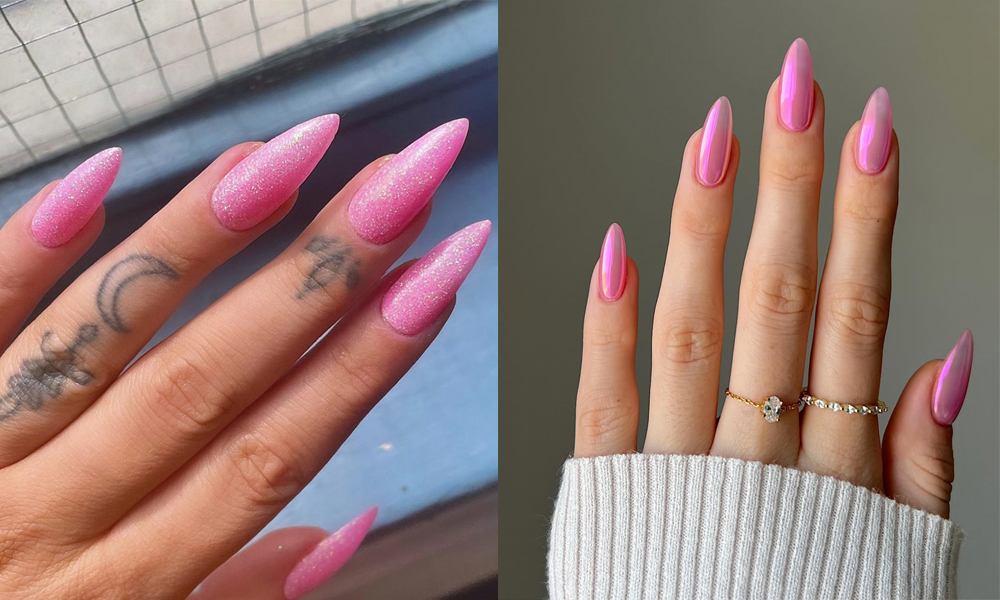
- Huge Variety: Endless designs, lengths, shapes, and colors – change your look daily!
- Salon-Free: Perfect for those who dislike salons or have limited access.
- Damage Control: Generally less damaging than acrylics or hard gels if applied and removed correctly. They protect your natural nails underneath.
- Travel & Events: Ideal for vacations, weddings, parties, or just a quick pick-me-up.
- Experiment Safely: Try bold colors, extreme lengths, or intricate art without commitment.
The Flip Side: Considerations
- Durability: They typically last 1-7 days, depending on the adhesive, application, and your activities. Glue generally lasts longer than tabs.
- Lifting & Popping: Can happen, especially if prep wasn’t thorough or if exposed to lots of water/heat. A rogue nail popping off can be annoying!
- Fit Issues: Sizing might not be perfect for everyone, especially if you have very wide or narrow nail beds.
- Water Weakness: Prolonged soaking (dishes, baths, swimming) is the enemy and will shorten their lifespan significantly.
- Potential for Damage: Only if you pry them off forcefully! Improper removal can pull layers off your natural nail.
Keeping Them Looking Fab: Maintenance Tips
- Minimize Moisture: Wear gloves for washing dishes or cleaning.
- Avoid Heat: Be cautious with hot water (showers are okay, long baths are risky) and direct heat like ovens/hair dryers near your nails.
- No Prying! Never pick, bite, or force a lifting nail off. This damages your natural nail.
- Gentle Touch: Treat them a bit more delicately than salon nails. Avoid using them as tools to open cans or scrape things.
- The Safe Removal: This is key to protecting your natural nails!
1. Soak nails in warm, soapy water for 10-15 minutes to loosen the adhesive.
2. Gently slide a cuticle stick or orange stick under the edge of the press-on. Do not force it.
3. If it doesn’t lift easily, soak longer. Work slowly around the nail.
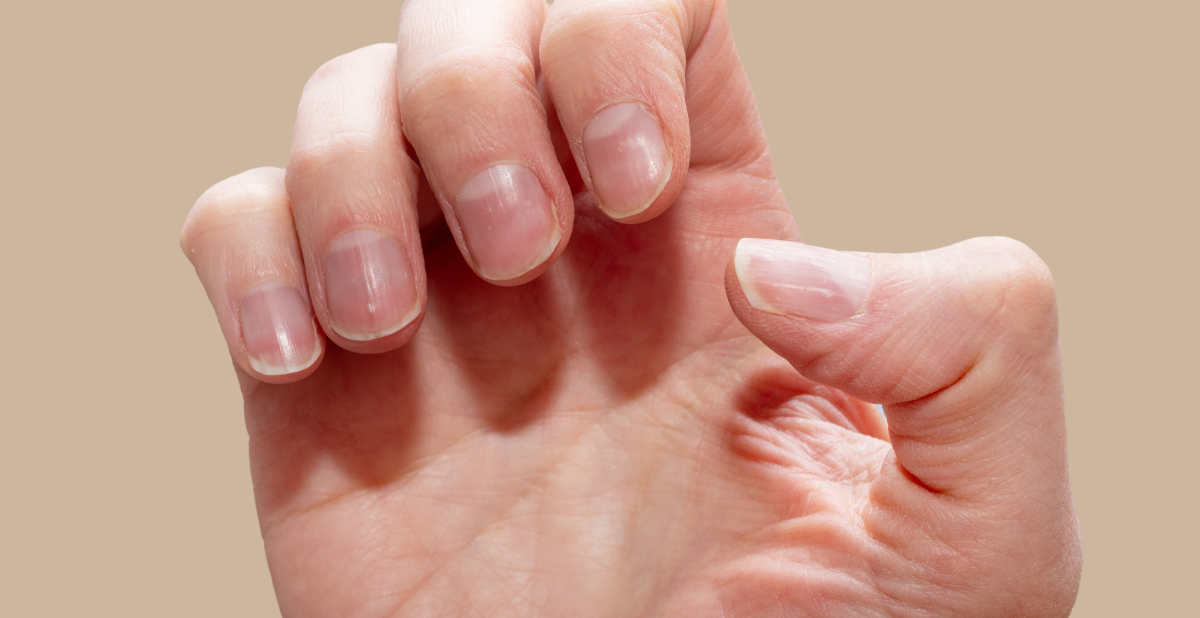
4. Once removed, gently buff off any remaining adhesive from your natural nail.
5. Hydrate your nails and cuticles with oil or lotion.
The Verdict?
Press-on nails are a fantastic, accessible, and fun beauty innovation. They offer incredible variety and instant style at a fraction of the cost and time of salon visits. While they might not be quite as durable as some alternatives, their ease of use, minimal damage potential (with proper care), and sheer fun factor make them a winner for anyone looking to elevate their look quickly. So grab a manicure kit, prep those nails, press them on, and get ready to slay!
Read also: How Long Does It Take for a Nail to Regrow?